
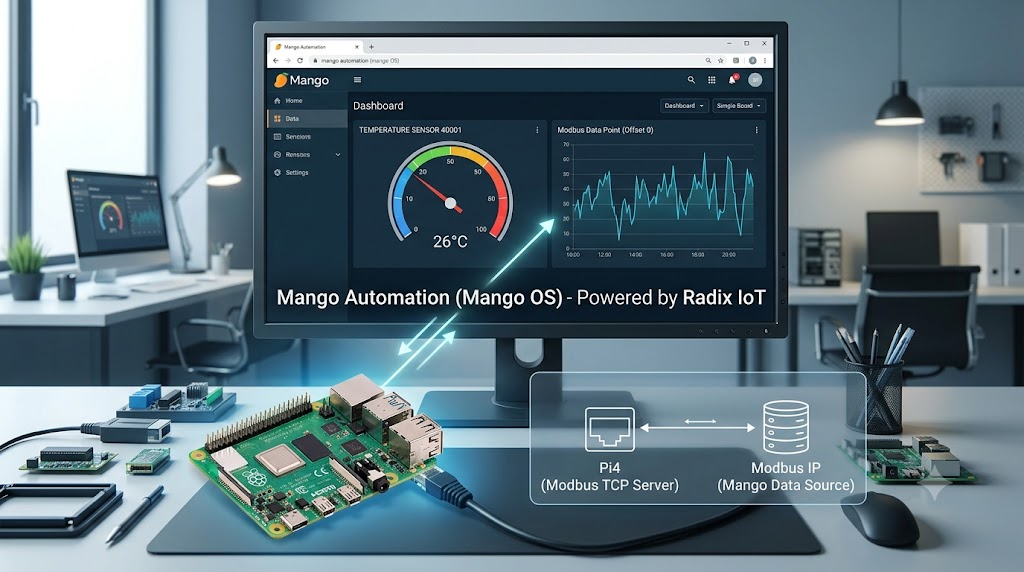
Industrial automation and IoT (Internet of Things) have evolved rapidly, making data collection and monitoring accessible even on hobbyist hardware. If you are looking to build a robust, cost-effective industrial monitoring system, combining the Raspberry Pi 4 with Mango Automation is an excellent choice.
In this comprehensive guide, we will walk you through exactly how to connect pi4 modbus to mango automation. Whether you are reading data from energy meters, temperature sensors, or PLCs, this step-by-step tutorial covers the hardware setup, Python scripting, and Mango core configuration required to get your system up and running smoothly.
Why Choose Raspberry Pi 4 and Mango Automation for Modbus?
Before diving into the technical details, let’s understand why this specific combination is highly effective:
- Raspberry Pi 4 (Pi4): Offers a powerful quad-core processor, up to 8GB of RAM, and multiple connectivity options (USB, Ethernet, GPIO), making it an ideal edge gateway for polling Modbus registers.
- Modbus Protocol: The industry standard for industrial electronic devices. It allows communication between a master device (Pi4) and slave devices (sensors/PLCs) over serial (RTU) or TCP/IP lines.
- Mango Automation: A premium open-source IoT dashboard and data acquisition platform. It excels at parsing Modbus registers, historical data logging, alarming, and data visualization.
By learning how to connect pi4 modbus to mango automation, you bridge the gap between heavy-duty industrial hardware and modern web-based monitoring interfaces.
Prerequisites and Hardware Requirements
To follow along with this tutorial, make sure you have the following components ready:
- Raspberry Pi 4 (with Raspberry Pi OS installed and SSH enabled).
- Modbus Slave Device (e.g., a Modbus RTU Temperature Sensor or energy meter).
- USB to RS485 Serial Converter (Required if you are connecting to Modbus RTU devices via the Pi4’s USB ports).
- Mango Automation Instance (Installed either directly on the Pi4 or on a separate local/cloud server).
- Ethernet or Wi-Fi Connection ensuring both the Pi4 and Mango Automation can communicate over the network.
Step 1: Preparing the Raspberry Pi 4 for Modbus Communication
To allow your Raspberry Pi 4 to poll data from your Modbus hardware, we need to configure the serial interface and write a quick script to verify that the hardware connection works.
1. Connect the Hardware
- Insert your USB to RS485 converter into one of the Raspberry Pi 4’s USB ports.
- Connect the A(+) and B(-) terminals of the converter to the corresponding A and B terminals of your Modbus slave device.
- Power up the Modbus slave device.
2. Identify the Serial Port
Open your Pi4 terminal via SSH and run the following command to find your USB serial device:
Bash
ls /dev/ttyUSB*
Usually, your device will appear as /dev/ttyUSB0.
3. Install Python Modbus Libraries
We will use a Python script as an intermediate gateway or directly test our connection using the pymodbus library. Run these commands to install it:
Bash
sudo apt update
sudo apt install python3-pip -y
pip3 install pymodbus pyserial
Step 2: Creating a Test Python Script for Modbus RTU
To guarantee that Mango Automation receives accurate data later, we must first verify that our Pi4 can successfully read the Modbus registers.
Create a test file using nano test_modbus.py and paste the following Python script:
Python
from pymodbus.client import ModbusSerialClient as ModbusClient
import time

# Configure the Modbus RTU client
client = ModbusClient(
    method='rtu',
    port='/dev/ttyUSB0',
    baudrate=9600,
    stopbits=1,
    bytesize=8,
    parity='N',
    timeout=1
)

if client.connect():
    print("Successfully connected to the Modbus Slave Device!")
    while True:
        # Read holding registers (Address 0, quantity 2) from Slave ID 1
        result = client.read_holding_registers(address=0, count=2, slave=1)

        if not result.isError():
            print(f"Register Data: {result.registers}")
        else:
            print("Failed to read Modbus registers.")

        time.sleep(2)
else:
    print("Connection failed. Check your wiring and port configuration.")
Run the script using python3 test_modbus.py. If you see raw register values on your screen, congratulations! Your Pi4 hardware connection is perfect.
Step 3: Installing Mango Automation
If you haven’t installed Mango Automation yet, you can set it up on your Pi4 or an external server. Mango runs on Java, so ensure you have the correct OpenJDK installed.
Bash
# Install Java OpenJDK 11
sudo apt install openjdk-11-jdk -y

# Download and install Mango Automation (Core version)
wget https://radixiot.com/downloads/mango-core-current.zip
unzip mango-core-current.zip -d mango
cd mango/bin
./ma.sh start
Once started, open your web browser and navigate to http://<your_server_ip>:8080 to access the Mango Automation UI dashboard.
Step 4: Configuring Modbus Data Source in Mango Automation
Now comes the critical part of our tutorial: configuring the connection inside Mango Core. Mango Automation uses native Data Sources to connect to external systems.
1. Add a New Data Source
- Log into your Mango Automation Dashboard.
- Navigate to Administration > Data Sources.
- Click the + (Add) button and select Modbus Serial (if using USB-to-RS485) or Modbus IP (if your Pi4 acts as a Modbus TCP gateway). For this guide, we select Modbus Serial.
2. Configure Serial Connection Parameters
Fill out the data source configuration to exactly match your Raspberry Pi 4’s physical setup:
- Name: Pi4 Modbus Gateway
- Export ID (XID): (Leave default or set custom)
- Serial Port:
/dev/ttyUSB0 - Baud Rate:
9600 - Data Bits:
8 - Stop Bits:
1 - Parity:
None - Update Period: 2 Seconds (How frequently Mango polls the Pi4)
Click Save and toggle the Data Source switch to Enabled.
Step 5: Adding Modbus Data Points in Mango
Once the data source is active, you need to create individual data points to represent specific Modbus registers (like temperature, voltage, or humidity).
- Inside your new Data Source, scroll down to the Data Points section and click Add Point.
- Configure the specific register parameters:
- Name: Temperature Sensor 1
- Slave ID:
1(Must match your device setting) - Modbus Data Type:
2-Byte Unsigned Integer(or 4-Byte Float depending on your sensor) - Register Range:
Holding Registers - Offset:
0(The starting register address)
- Click Save.
- Go to the Data Point Details page and toggle the point to Enabled. You should now see live incoming numerical values appearing in your Mango interface.
Best Practices for Optimization and Troubleshooting
When figuring out how to connect pi4 modbus to mango automation, you might encounter communication timeouts or data packet drops. Follow these best practices to ensure rock-solid stability:
- Use Termination Resistors: For long RS485 wire lengths, always place a 120-ohm resistor across the A and B lines at both ends of the bus to eliminate signal reflections.
- Check Linux Permissions: If Mango cannot open
/dev/ttyUSB0, grant permissions to the Mango user account by runningsudo usermod -a -G dialout <mango_user>. - Adjust Timeout Settings: If you experience packet loss, increase the Modbus data source timeout value in Mango from
500msto1500ms.
Conclusion
Setting up a robust data monitoring network doesn’t require expensive proprietary hardware. Knowing how to connect pi4 modbus to mango automation empowers you to collect, visualize, and analyze critical industrial data seamlessly using affordable components.
By mapping the correct serial configurations on your Raspberry Pi 4 and aligning them inside Mango Automation’s data sources, you unlock a enterprise-grade telemetry platform ready for any SCADA or IoT deployment.
“If you are interested in expanding your automation skills beyond industrial IoT, check out our guide on how to build an AI lead generation automation painting trade business workflow to streamline service-based businesses.”
Want to automate financial workflows? Read our tutorial on how to automate tip calculation and distribution for restaurant staff.